
Turn your blank page into a stunning turkey drawing. This guide will help you improve your sketching skills.
“Step-by-step illustration of a turkey drawing tutorial, featuring detailed sketches at various stages of completion, showcasing the turkey’s features like feathers, beak, and body shape, set against a clean background with art supplies like pencils and erasers nearby, emphasizing the artistic process.”
Drawing turkeys takes time and practice. Our tutorial breaks down complex techniques into simple steps.
You’ll learn basic sketching principles to boost your confidence.
Artists of all levels can master turkey drawing. We’ll show you how to form shapes and add feather details.
Our clear instructions make the process fun and easy. You’ll develop your visual skills as you learn.
We’ll guide you through each stage of creating a realistic turkey. You’ll learn how to turn simple lines into compelling artwork.
Our techniques will help you capture the bird’s essence and personality.
Understanding the Basics of Turkey Drawing
Turkey’s drawing starts with grasping its unique anatomy. Artists break down the turkey’s form into simple shapes for accuracy.
Focus on the bird’s key structural elements. The body has an oval torso, rounded head, and angular wings.
Pay attention to the muscular neck and broad chest. The distinctive tail feathers are also essential to capture.
Start with a light framework of basic shapes. Use a large oval for the body and circles for the head.
This method helps map out the turkey’s structure. You can add details after getting the basics right.
Study real turkey photos or live birds. Notice their feather texture and body movements.
Developing an eye for turkey anatomy takes time. Patient observation is key to improving your skills.
Every great drawing begins with basic shapes and proportions. Your turkey art will improve as you practice these fundamentals.
Sketching the Outline of Your Turkey
Let’s start your turkey drawing with the initial sketch. A good turkey silhouette is key to making your artwork successful.
Draw a light outline of the turkey’s shape. For the main body parts, use simple circles and ovals.
Focus on the turkey’s unique features, such as its broad chest, curved neck, and rounded body.
Notice the turkey’s hunched look. Its breast sticks out, and its head sits forward.
Try drawing turkeys in different poses. This will help you improve your skills.
Don’t worry about making it perfect. The basic shape is what matters most now.
You’ll add more details later. For now, focus on getting the body shape right.
Adding Details to Your Turkey Drawing
Bringing your turkey drawing to life requires careful attention to specific details. Focus on the feather patterns to create a realistic representation.
Wild turkeys have complex, layered feathers that add depth and texture. Use light, directional strokes to mimic the natural feather arrangement.
Some areas will appear smoother, while others show a more rugged definition. Wing and tail feathers have distinct patterns and overlapping layers.
Turkeys have a curved beak with a rough, textured surface. Sketch the beak with lines that show its shape.
Draw the feet with scaled texture and strong talons. These help turkeys navigate their terrain.
Look at photos of wild turkeys to enhance realism. Notice how feather patterns change direction and interact with light.
Practice drawing small sections to build confidence. This will help transform a simple sketch into a lifelike turkey.
Choosing Colors for Your Turkey
A vibrant palette displaying various turkey feather colours, including rich browns, deep reds, shimmering greens, iridescent blues, and warm golds, arranged in a circular format with feather textures visible, set against a soft, natural background.
Wild turkeys have a rich colour palette that changes throughout the year. Different species and seasons affect feather colours, making selection vital for realistic drawings.
Spring turkeys often show vibrant bronze and copper tones. Winter birds display more muted brown and grey shades.
Male turkeys have more dramatic colouration with iridescent feathers. These feathers shimmer beautifully in sunlight.
Artists suggest using earth tones like burnt sienna and raw umber. Deep browns help create depth in your turkey drawing.
Watercolour and coloured pencil techniques work best for feather colouration. Start with light base colours and build layers for realistic texture.
Lighting affects how colours appear on turkeys. Natural daylight shows the most authentic turkey colours.
Observe live turkeys or high-quality photos to understand colour nuances. This will help you create a more lifelike turkey drawing.
Shading Techniques to Enhance Your Drawing
Shading can make your turkey drawing look real. It adds depth and brings your art to life.
Light and shadow are key in creating dimension. These elements can make your sketch pop.
Start with basic hatching. Use parallel lines to create shadows and texture.
For feathers, try cross-hatching—layer lines at different angles for intricate details.
Blending is another excellent technique. Use soft pencils to make smooth, light-to-dark transitions.
Watch how light falls on the turkey’s body. Notice the shifts from bright to dark areas.
Try different pressure levels with your pencil. Light pressure makes soft shadows.
Firm strokes create more dramatic depth. Play around to find your style.
Keep practising to get better. Each drawing will help you improve your skills.
Common Mistakes to Avoid When Drawing a Turkey
Artists often struggle to make realistic turkey drawings. Understanding these challenges can help improve their skills and create better bird pictures.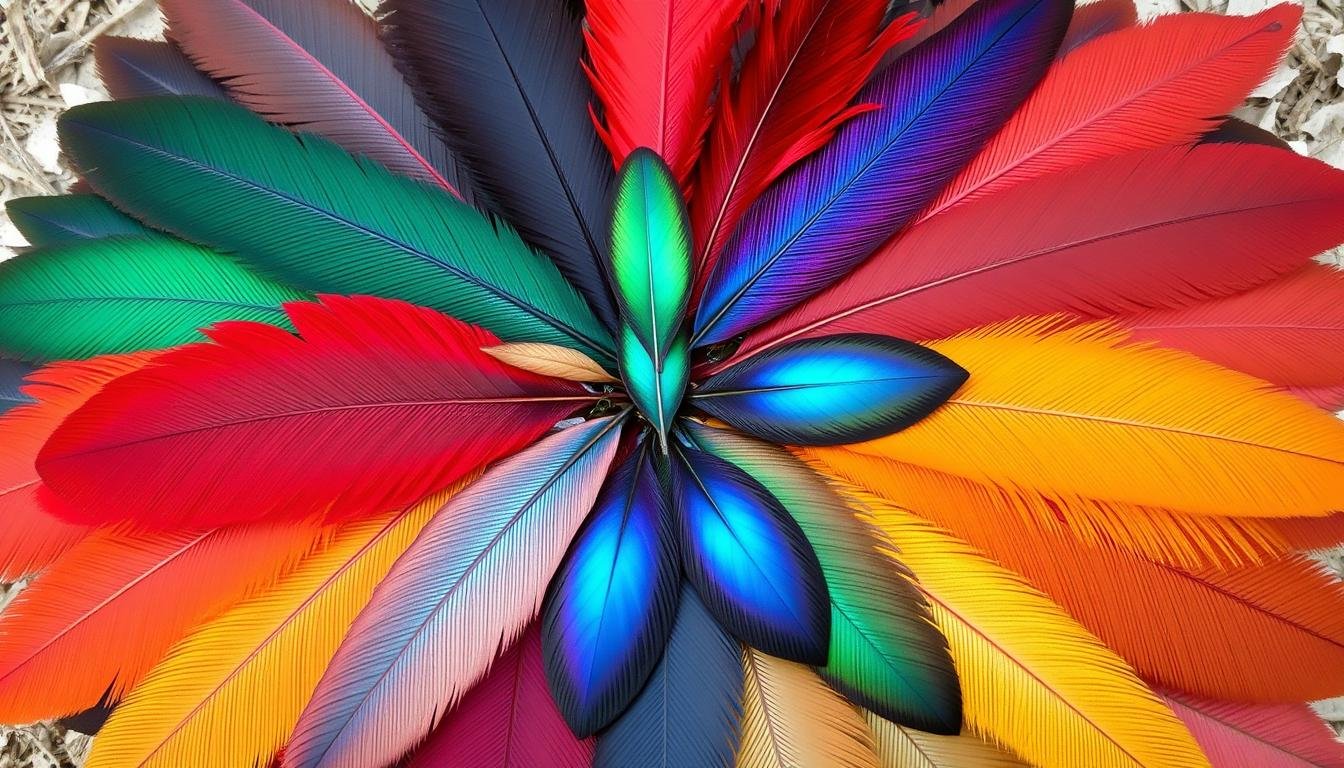
It is very important to get the body shape right. Many beginners make mistakes with the turkey’s neck length and wing position.
Look at real turkeys to learn their unique features. Study how their body parts fit together.
The feather arrangement is also tricky for artists. Turkeys have complex feather patterns that need careful attention.
Don’t rush this part. Take time to draw each feather carefully.
The turkey’s head and wattle are key parts to focus on. These areas make turkeys look unique.
Draw the curves and features of the face with care. This will make your turkey look more authentic.
Practice is the best way to improve your drawing of turkeys. Start with simple sketches and slowly improve your method.
Use many turkey pictures when you draw. Watch how turkeys move and stand in real life.
This will help you understand turkeys better. Your drawings will look more natural and lively.
Inspiration for Unique Turkey Drawing Styles
Artists can make turkey drawings extraordinary with creative approaches. Different styles open up new visual possibilities beyond realistic representations.
Stylized turkeys offer exciting chances for artistic expression. Cubist techniques break down the turkey’s form into geometric shapes.
Watercolour methods create soft, dreamy turkey illustrations. Graphic design styles use bold, minimalist lines to capture the bird’s features.
Cartoon and anime styles can make playful turkey drawings. Exaggerating features like wattles or feathers create engaging artwork.
Urban sketches might show turkeys in unexpected street scenes. This adds visual interest to the drawings.
Digital art tools let artists try endless creative approaches. Graphic tablets and software allow for intricate turkey renderings.
Technology expands artistic turkey representation through pixel art and 3D modelling. Diverse styles help artists develop their unique visual language.
Turkish drawings can express creativity through abstract colours or mixed media. These methods transform ordinary birds into extraordinary art.
Final Touches to Make Your Turkey Drawing Stand Out
Careful attention to background elements can transform your turkey sketch. Focus on creating depth around your turkey with complementary textures.
Use light pencil strokes to add soft shadows for dimension. Crisp edges and strategic highlighting can make feathers look more realistic.
Pay special attention to the bird’s eye and plumage. This will help capture the turkey’s true essence.
Step back from your drawing often to check the overall composition. Ensure the proportions feel balanced and the turkey looks natural.
Minor adjustments in perspective or detail can significantly improve your artwork. Keep a sketchbook for turkey drawings to try different styles.
Embrace imperfections as chances to grow your skills. Remember, each drawing helps you master your craft.
FAQ
What are the essential materials I need to start drawing a turkey?
Get a sketchbook, drawing pencils, erasers, and coloured pencils or watercolours. Find turkey images for reference.
Blending stumps, a ruler, and tracing paper can be helpful, too.
How do I get the proportions right when drawing a turkey?
Use basic shapes to sketch the turkey’s body. Focus on the overall shape.
Compare body parts to keep sizes accurate. Pay attention to the body-to-neck ratio.
What’s the best way to draw turkey feathers realistically?
Make light strokes following the feathers’ growth pattern. Use different pressures for depth.
Study how feathers overlap. Create unique textures for body, wing, and tail feathers.
How can I add depth and dimension to my turkey drawing?
Use shading techniques like cross-hatching and blending. Note how light falls on the turkey.
Add darker tones for depth in feathers. Use lighter tones where light hits.
Are there different styles of turkey drawings I can try?
Yes! Try realistic, cartoon, abstract, or watercolour styles. Each style shows turkeys differently.
Pick a style that fits your vision. Experiment to find what you like best.
What are common mistakes to avoid when drawing a turkey?
Don’t overlook proper sizing or feather details. Remember unique features like the wattle.
Avoid flat colouring. Start with light sketches and use reference images.
How long does it typically take to create a detailed turkey drawing?
A basic sketch might take an hour. Detailed drawings can take several hours.
Your skill level affects the time needed. Practice helps you draw faster.
Can beginners learn to draw turkeys effectively?
Yes! Start with simple shapes. Use references and break the drawing into steps.
Practice often and be patient. Everyone starts as a beginner. You’ll improve with time.
you may also read : How to Create an Amazing Pumpkin Drawing Step-by-Step